 |
|
5 quick steps to start using this
service:
- Create an interactive (fillable)* PDF-form file:
- Order a custom PDF or XFA form that suits your needs at the NextPDF Custom PDF Form Order Page;
-- Or --
-
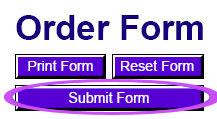
 Create or use your own interactive PDF or XFA form. (In this case you will need to add "Submit
Form" button to your form (as on the displayed sample or any other button wich will submit data to the server). The submit URL is generated for every PDF form
registered.
You can see it on PDF form settings page
(see Step 4). Please, be sure to use only this submit
URL in your "Submit Form" button. Please, set correct settings for your form
submit settings: if it is PDF Form - submit it as html, if it is XFA Form - submit
it as xfa. Create or use your own interactive PDF or XFA form. (In this case you will need to add "Submit
Form" button to your form (as on the displayed sample or any other button wich will submit data to the server). The submit URL is generated for every PDF form
registered.
You can see it on PDF form settings page
(see Step 4). Please, be sure to use only this submit
URL in your "Submit Form" button. Please, set correct settings for your form
submit settings: if it is PDF Form - submit it as html, if it is XFA Form - submit
it as xfa.
- Add new form to thePDF Forms Tracker
page.

-
Enter Form Title and click "Next Step" button. By clicking "Next Step" button you
create new form in your forms list and generate Submit URL for the form. "Next Step"
button also redirects you to Settings page.

- On PDF Form Settings page you are able to Enable/Disable form (*Note: when disabled
form does not accept posts), upload PDF Form (*Note: Optional. It is required, if
you want to view posted data in PDF or attach form data as PDF file when sending
Emails.), set confirmation email settings and form processing details.
On the top of the Settings page you can see unique Submit URL for the form. Please,
use this URL in Submit button functionality (See step 1). Click "Save Settings"
button.
- Share PDF-form file among your customers to post data.
To retreive submitted data
Login to your NextPDF account and find it by pressing the "post(s)" link
in "Activity
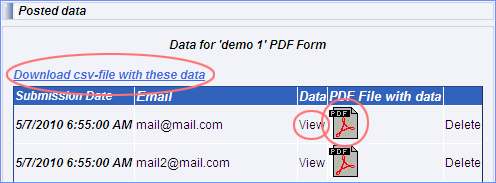
Report" column. You can view it as a flat
html-table or a filled PDF
form, print it out or download a csv-file with all submitted data. You can also view Daily Activity
Reports.

Don't hesitate to
contact us if you have any questions or are confused!
|